Nuxt JS
Nuxt is an open-source framework built on Vue.js that makes web development intuitive and powerful, with built-in SSR, SSG, and full-stack capabilities.
Install Translate.website on Nuxt JS
Building with Nuxt.js? You don't need custom modules or plugin configuration to make your Nuxt site multilingual.
Using the app.head.script option in nuxt.config.ts, you can globally inject the Translate.website script across every page and route in your Nuxt application — whether you're using SSR, SSG, or SPA mode. It's the cleanest, most maintainable approach Nuxt provides for global scripts.
Once set up, Translate.website will automatically detect and translate your content in real time for visitors in different languages.
This guide walks you through the entire setup from start to finish.


Configure Nuxt to Enable Translate.website
Nuxt's nuxt.config.ts gives you a first-class way to inject scripts into the HTML head globally. Here's exactly how to set it up.
Before You Begin
- An active Translate.website account.
- A Nuxt 3 or Nuxt 2 project.
- Access to nuxt.config.ts (or nuxt.config.js) or app.vue.
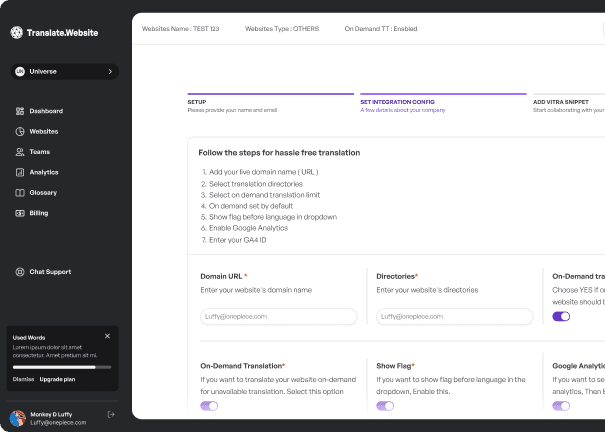
Step 01: Get Your Translate.website Snippet
Log in to app.translate.website and retrieve your unique integration snippet.
- Log in to app.translate.website
- Navigate to Settings → Snippet
- Copy the script URL and your data-site-id value

Step 02: Add via nuxt.config.ts (Nuxt 3)
Nuxt 3 provides a built-in way to inject head scripts globally via the app.head configuration in nuxt.config.ts. This is the cleanest method for Nuxt 3 projects.
- Open nuxt.config.ts in your project root.
- Inside the defineNuxtConfig({}) block, add the app.head.script configuration.
- Example: app: { head: { script: [{ src: 'YOUR_SCRIPT_URL', 'data-site-id': 'YOUR_ID', defer: true }] } }
- Save nuxt.config.ts.
- Alternative for Nuxt 2: Add to head.script in nuxt.config.js.
- Alternative for both: Add a <script> tag inside <Head> in app.vue.

Step 03: Verify on Dev Server
Start the Nuxt dev server and verify the integration.
- Run: npm run dev or nuxi dev
- Open http://localhost:3000 in your browser.
- Check DevTools → Network for the Translate.website script.
- The translation widget should appear.

🚀 What Happens After Saving?
Nuxt will include the Translate.website script in the generated HTML head across all pages — whether they're server-rendered, statically generated, or client-side. Visitor language preferences are detected automatically.
This works seamlessly with Nuxt's server-side rendering and static site generation.
⚠ Recommended: Clear Cache
If you're using a CDN or Nuxt's static generation cache, clear and rebuild after saving nuxt.config.ts to ensure the updated script tag is included in all pre-generated pages served to visitors.
🔁 Safe & Reversible
This integration is completely reversible. To remove Translate.website from your Nuxt site, simply delete the script entry from the app.head.script array in nuxt.config.ts and rebuild. No Nuxt plugins, modules, or components were modified.
💡 Why This Method Is Recommended
- Works with SSR, SSG, and SPA modes in Nuxt.
- nuxt.config.ts is the recommended place for global scripts — no layout changes needed.
- Compatible with Nuxt Layers and module system.
- Fully reversible — remove the script entry from your config to uninstall.
Ready to make your Nuxt.js site multilingual?
Configure once in nuxt.config.ts and every route on your Nuxt site is automatically translated.